For a while, I ran my projects locally and shared them with colleagues. When this wasn’t always practical, I hosted the code on git repositories, so others could download and run everything themselves—sometimes even providing Docker containers for easier setup.
But what about people who wanted to see my projects in action, without tinkering with tooling and dependencies? This led me to explore options where anyone could visit and interact with my projects online.
Finding the right solution
Two major hurdles quickly emerged: cost and resources. While affordable hosting wasn’t hard to find, resource limitations were. To run the kinds of projects I was building, I needed specific technologies that basic hosting simply couldn’t support. Upgrading to premium servers would have been expensive.
So, I considered alternatives and compromises. Running a full-stack application with backend logic and a database narrows down hosting options significantly. As a workaround, I decided to publish prototypes—functional versions of my projects, but with some constraints.
I primarily use GitHub to store my projects and was familiar with GitHub Pages, which works well for static prototypes that don’t require server-side logic or storage. However, while exploring further, I discovered an option I’d previously overlooked: Cloudflare.
Cloudflare Workers
It’s easy to underestimate Cloudflare’s offerings. Like many, I’d mainly used it for its CDN performance boosts and security features like firewalls and bot protection. But Cloudflare actually provides a rich suite of resources for web development.
Cloudflare offers static hosting—similar to GitHub Pages—but also serverless functions (akin to AWS Lambda), enabling backend logic (within certain limits) without the need for dedicated servers.
I recommend looking at the documentation and other resources for more information on Cloudflare Workers. Sufficient to say I’m only covering a very small portion of what can be done with Cloudflare Workers.
The Setup
Note: This setup is for a project using NextJS. When it comes to the configuration files there will be differences if using other frameworks, but the Cloudflare setup will mainly be the same.
I will say the easiest way to launch a site is through Cloudflare Pages. While I won’t detail the differences between Cloudflare Pages and Cloudflare Workers (their documentation covers this well: https://developers.cloudflare.com/workers/static-assets/migration-guides/migrate-from-pages/#compatibility-matrix), it’s worth noting that some features are exclusive to Workers, which I may need in the future.

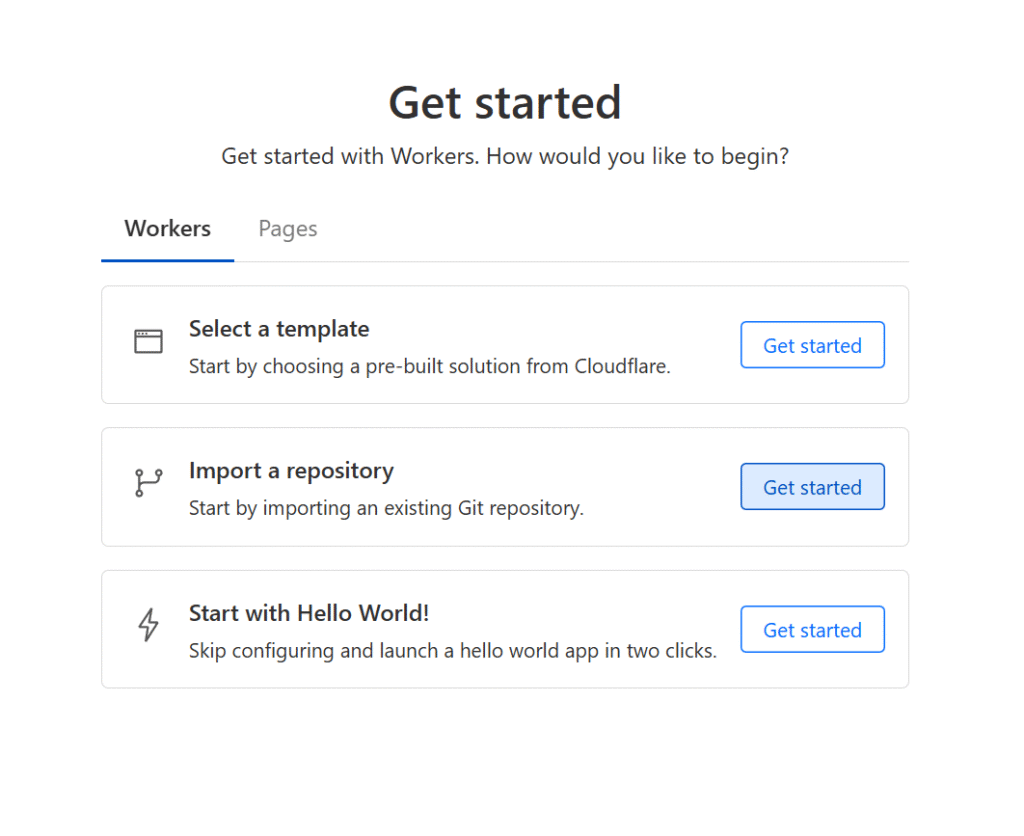
There’s a section called Workers & Pages (note the documentation. Helpful for getting started if you need more information). Clicking Create leads you to a few options:

After choosing Import a repository, there will be an option to connect with either GitHub or GitLab. In my case, I connected with GitHub and selected my repo (it can be either public or private). Afterwards:

The project I’m using here is just an example to test this out, which uses the NextJS framework. I have the example repo available on my GitHub: https://github.com/jwebbytes/ExampleRepo
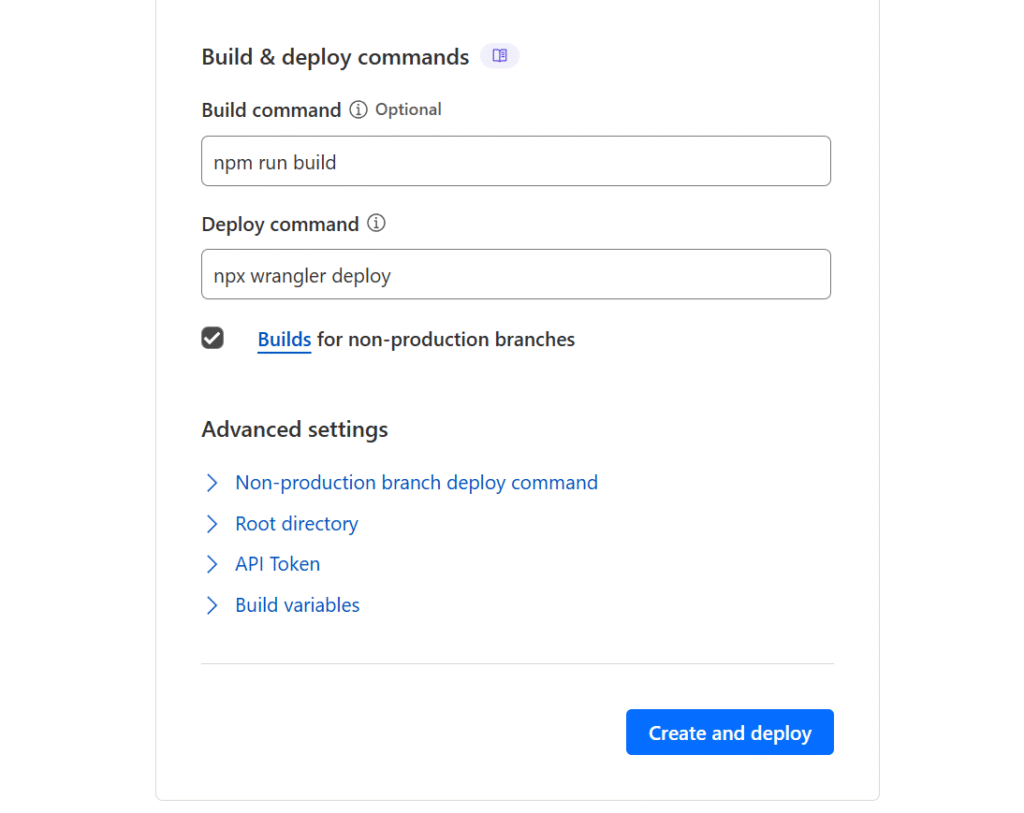
For the build command:
npm run buildFor the deploy command:
npx wrangler deployEverything else I kept default. Before clicking “Create and deploy”, there are some files that will be needed on your project root. In my case, I need a wrangler file and need to make changes to my next.config file.
The wrangler file (information can be found here: https://developers.cloudflare.com/workers/wrangler/configuration) is required to let know Cloudflare how to build and run your project. For this basic project, there’s not much needed but the documentation will help with knowing how to set up one for more advanced projects.
I created a wrangler.jsonc file and added it to the root of my project.
{
  // Example configuration
  "name": "example",
  "compatibility_date": "2025-07-29",
  "assets": {
    "directory": "out"
  }
}
The assets folder is where the files that will be used to serve the project (HTML, JS, images, etc.) will be. The directory “out” is used by Next.js.
Note: I’m just using the static portion of this project. Usually for a NextJS folder, the directory would be .next for use with server-side rendering
Afterwards, I configure the next.config file:
/** @type {import('next').NextConfig} */
const nextConfig = {
  reactStrictMode: true,
  output: 'export', // Use 'export' for static export
  trailingSlash: true,
  images: {
    unoptimized: true
  }
};

export default nextConfig;
The changes I made from the default one created by NextJS is adding the output, trailingSlash and images. Basic I’m doing a static site using NextJS, I need to let it know by declaring output: ‘export’. The trailingSlash might not be needed but it is recommended (when visiting a URL, it will have a slash at the end).
The images is needed and I have run into errors when not using it. Bascially NextJS uses a an image optimization API which requires the use of a server. Since I’m just running a static site, I need to disable it.
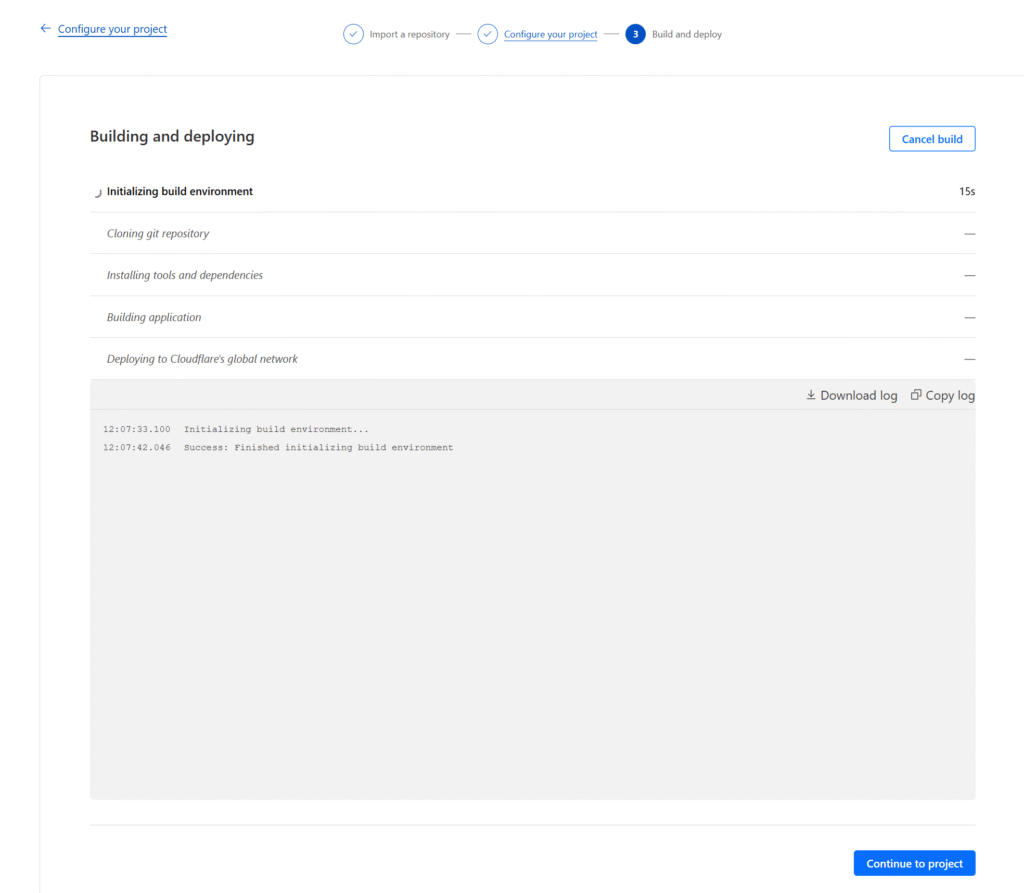
Once this is complete, I go back to the Application setup page and click ‘create and deploy’:

Since this project is small, it only takes a few minutes to finish. At the end (when you reach the “Deploying to Cloudflares’ global network” part), there should be a success message which indicated files have been uploaded along with some other information. The key thing to note is the URL where the project can now run. The format of the URL is projectname.cloudflareaccountname.workers.dev.
After visiting the site, I see this:

My project (which is the example that Next.JS provides when first starting up a project) is now running and I can simply share the URL with anyone that want’s to see it.
A key benefit is that changes to the GitHub repo automatically trigger updates to the site. This makes it ideal as a development showcase—just note that being a dev site, it may experience errors or downtime if active changes introduce bugs.
A new showcase
Sharing projects online can be challenging, but tools like Cloudflare Workers make it more accessible than ever. With a bit of setup, you can showcase your work to the world—no Docker, no local installs, just a click away.
Aside: I recognize that this isn’t the ideal use case for Cloudflare Workers, more for Cloudflare Pages and GitHub Pages. And Cloudflare Workers might not even be the best fit for my projects either. In fact, there’s a solution for NextJS called Vercel which covers what I need, so I don’t really need to go for Cloudflare Workers. Other solutions available include: AWS, Google Cloud, Firebase, Heroku, Netlify, etc., all of which offer free tiers so that simple projects (like the one I have here and what I have been mostly showcasing) can be setup and ready to run online. But not all are the same and each one will have it’s pros and cons. I have used Cloudflare for different reasons and this is one I wanted to try out. For a more advanced project that I might actually want to take to production I’ll have to do more research into what I need.
Troubleshooting
It would have been nice if everything ran like I mentioned in the setup, but like usual, I ran into a few errors and needed solutions to overcome them. Here are some of what I ran into:
• [ERROR] Missing entry-point to Worker script or to assets directoryWhen I first started setting up the application on Cloudflare, I quickly deployed, not realizing I needed the wrangler file.
A missing wrangler file or a misconfigured wrangler file will lead to that error.
In my case it came up twice. Once for not having it, and the next because I didn’t specify the correct directory. Since I was deploying a static site, the directory would be different than the one NextJS has setup (which is the .next folder). So I changed the directory to out.
• [ERROR] The directory specified by the "assets.directory" field in your configuration file does not existThis error is related to the previous error. This came up because I didn’t configure NextJS to export static files. As I mentioned in the setup section I had to configure the next.config file to accommodate this:
output: 'export', // Use 'export' for static exportAnother error that came up, but didn’t quite catch the exact error was related to images. I had to configure the same file to use this:
images: {
    unoptimized: true
  }
This is specific to NextJS. It uses an API for image optimization but it is not compatible with static exports.